and loosening four Phillips-head screws at the bottom. Use a #1 Phillips-head screwdriver. Support the drive with one hand as shown in Figure 17.
5. Swap drives. Support the new drive the same way. Screw it into the exact same holes.
6. Reconnect the data cables. Replace the drive cage. Reattach the front cover.
7. Remove the rear panel as shown in Figure 4.
8. Refer to Figures 11 and 12. The disk drive controller chip is on the upper left corner of the board . The disk drive ROM chips are marked with white stickers. On a Lisa, the ROM to pull is part# 341-0290 at position Al. On an XL, its part# 341-0281 D at position A2. Carefully pry both ends of the chip with a small flathead screwdriver. Be sure to work from both ends. If you work from just one end, you'll bend and possibly break the pins.
9. Orient the new chip so that the notch is pointing upward . Make sure you use the right chip for your computer. Plug it into the socket. On a Lisa, the chip fits the socket perfectly. On a Macintosh XL, the socket is larger than the chip. Start from the bottom of the socket . The top of the socket is not used.
10. Replace the rear cover, reattach the power cord, and that's it.
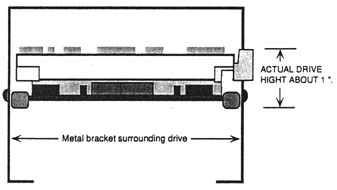
Figure 27 Profile view of an 800K drive in the mounting bracket. It takes up about half the room as a 400K drive.
Expansion Card Upgrades
The Lisa has three PC-like expansion slots to the left of the rear panel. Recently developed expansion cards simply plug into these slots. A SCSI card will allow you to connect up to 7 external SCSI devices. Together with an 800K disk drive upgrade, these cards essentially turn any 1Mb Lisa/XL into a big screen Macintosh Plus.
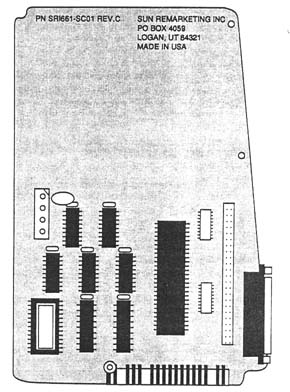
Figure 28 SCSI card for the Lisa/Mac XL.